How to Create the Cracked Skull Reveal Using AI
A skull hidden in cracked asphalt, built from three prompts and one sequence. How to create the Cracked Skull Reveal using Claude, Google Flow, and Gemini.

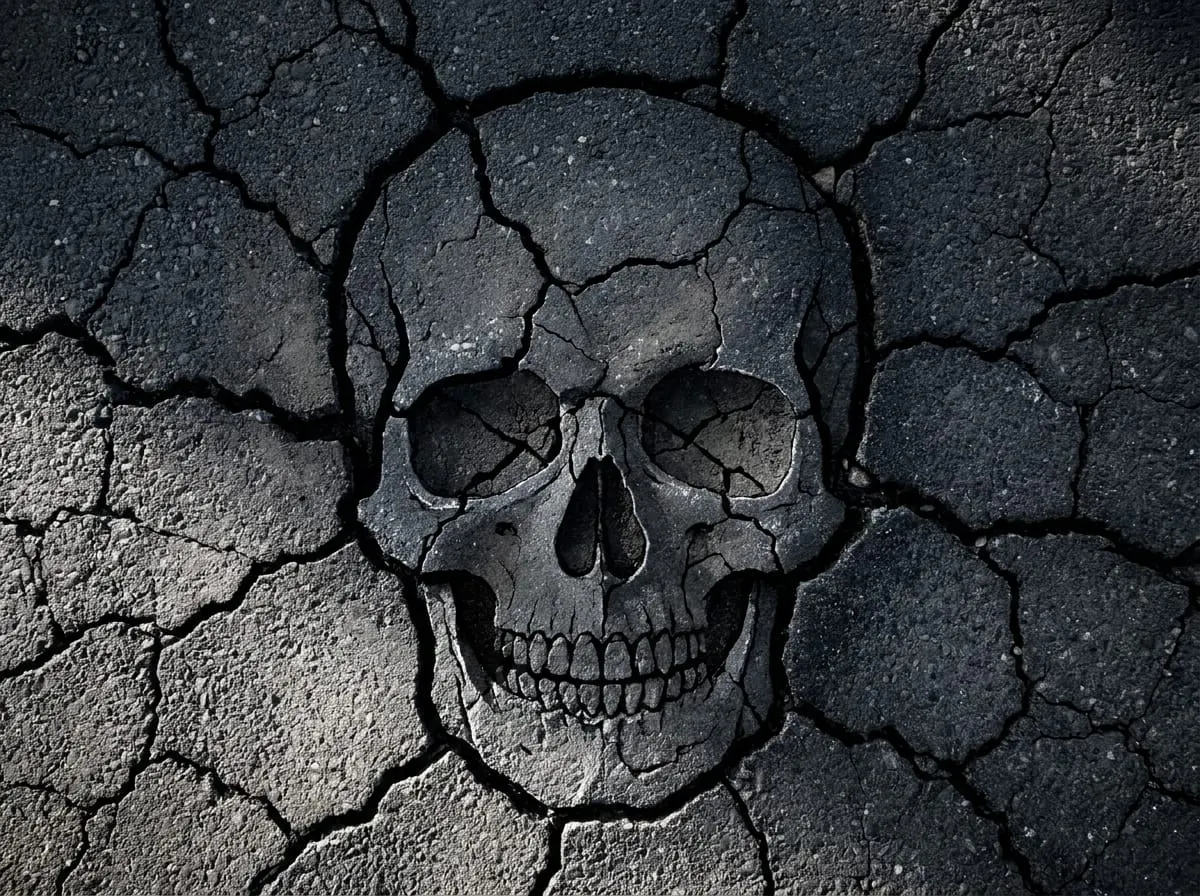
Skull silhouette formed by cracks in dry asphalt, AI generated reveal effect
Everyone wants to know the tool. Nobody asks about the sequence.
This effect looks like one clever prompt and a lucky generation. It is not. It is three separate decisions, made in order, each one depending on the one before it. Skip the order and you get a floating skull, a CGI sheen, or a reveal that looks composited instead of discovered. Get the order right and the ground itself tells the story.
Here is exactly how I built it.
Step 1: Talk to Claude about what you want, not what you think the prompt should say
Most people open an image model and start typing what they imagine the prompt needs. That is backwards. I talk to Claude first, describe the feeling and the physical logic of the shot, and let Claude translate that into prompt language. Claude knows what phrasing controls light, texture, and object formation. I know what I want to feel when I look at the image. Combining the two is the actual skill.
Once Claude gives me the prompt, I run it in Google Flow using Nano Banana Pro 2. This produces the end frame, the fully cracked surface where the skull is visible in the crack pattern itself.
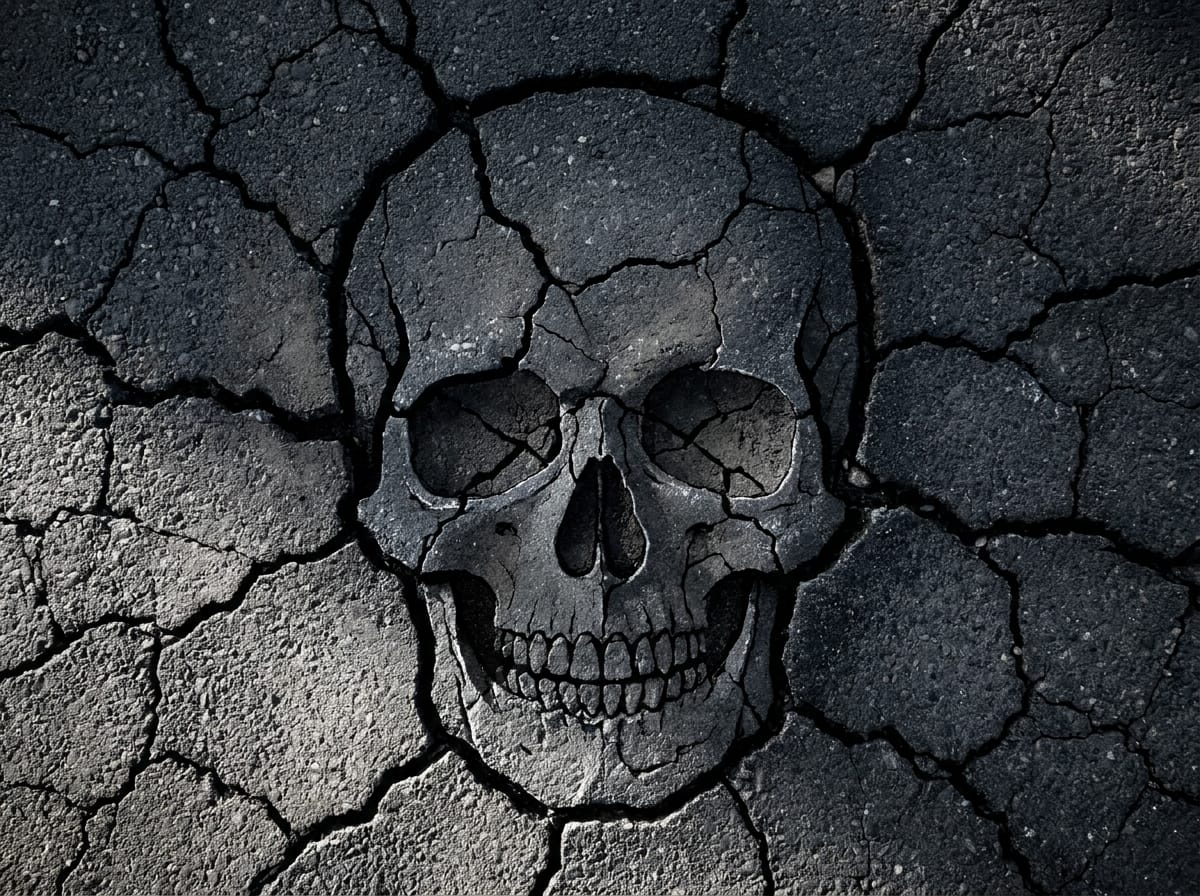
Prompt I used:
Extreme close-up overhead photograph of aged, heavily cracked asphalt road surface. No text. No letters. No graphics. No overlaid elements. Nothing sits on or is embedded into the surface.
The crack network across the entire frame, when viewed as a whole, collectively reads as the recognizable silhouette of [skull face]. The cracks do not draw the object – they ARE the object. The density, branching pattern, spacing, and termination points of the fissures across the asphalt naturally accumulate into the outline and internal structure of the object's form. Viewed up close, it is only cracks. Viewed as a complete image, the object emerges.
Within the object silhouette zone, crack behavior is specific: primary cracks trace the outer contour of the object's form. Secondary cracks branch inward, following the internal anatomy and surface detail of the object -- its curves, edges, mass distribution, and defining structural lines. Crack density is highest where the object has the most visual complexity. Crack density thins toward the outer edges of the object zone and radiates outward into looser, more random fracture lines beyond the silhouette boundary.
Outside the object zone, the crack network is lower density, more chaotic, radiating outward like stress fractures propagating away from a central pressure source. These surrounding cracks give the object zone visual weight and isolation without framing it artificially.
Deep crack voids are pure black -- no fill, no glow, no light bleed into fissure interiors. The only light present is hard raking light catching the sharp raised edges of fractured asphalt slab faces. Lit ridge edges are bright cold grey-white, physically narrow, following the natural break line of each slab. No broad pools of light. No atmospheric glow. No spray. Light exists only where a physical ridge edge directly intercepts the raking beam.
Asphalt texture: dark charcoal grey. Coarse aggregate visible across flat slab faces. Fine dust and grit settled into the lowest crack points. Micro-debris scattered irregularly. No clean zones. No uniform patches. Surface reads as ancient, under enormous structural stress, photographed in extreme detail.
Lighting: single hard raking light source from the lower left at 10 to 15 degrees above horizontal. No fill light. No bounce. No ambient glow. Crack voids: near-black. Lit ridge edges: near-white cold grey. Flat slab faces: mid charcoal grey. Maximum surface relief through light and shadow contrast alone.
Color grade: near-monochrome. Deep desaturated blue-grey base. No warm tones. No brown. No green. No white pools or glowing zones. Subtle vignette darkening the outer frame edges. Cold, heavy, cinematic.
Composition: full-bleed 2:3 vertical poster format. Object silhouette formed by cracks is centered and dominant in the mid-frame. Upper third: denser, darker crack network. Lower third: lighter crack density anchoring the base. Reads as a premium Netflix film cover.
Ultra-photorealistic. DSLR macro lens aesthetic. 8K resolution. Photoreal surface only. No AI artifacting. No stylization. No painterly quality. No watermarks.
Negative prompt: visible text, embedded letters, typography, stencil effect, painted shapes, graphic overlays, debossed objects, white glow, light spray, light bleed into cracks, illuminated crack interiors, warm tones, brown, green, neon, CGI look, illustrated texture, painterly quality, soft focus, uniform crack geometry, symmetrical cracks, clean asphalt zones, watermarks, overlaid graphics, cartoon cracks.
If the result matches what I pictured, I move to step 2. If it does not, I do not touch the prompt myself. I go back to Claude, describe what is wrong in plain language (too warm, too illustrated, skull looks placed instead of formed), and let Claude rewrite the prompt. Re-iterate as many times as it takes. The end frame is the foundation of the whole effect. If it is wrong, everything after it is wrong too.
Step 2: Remove the skull to build your clean plate
Once the end frame is locked, I need a starting point, a version of the same surface before anything has cracked. This becomes the first frame of the animation.
You get there by removing the skull from the end frame image. Two ways to do this: Photoshop, using generative fill or manual retouching to smooth the surface back to plain asphalt, or directly inside Google Flow by prompting an edit that strips the crack formation and returns the surface to its undisturbed state.
Either way, the result should look like nothing happened yet. No hint of what is coming.
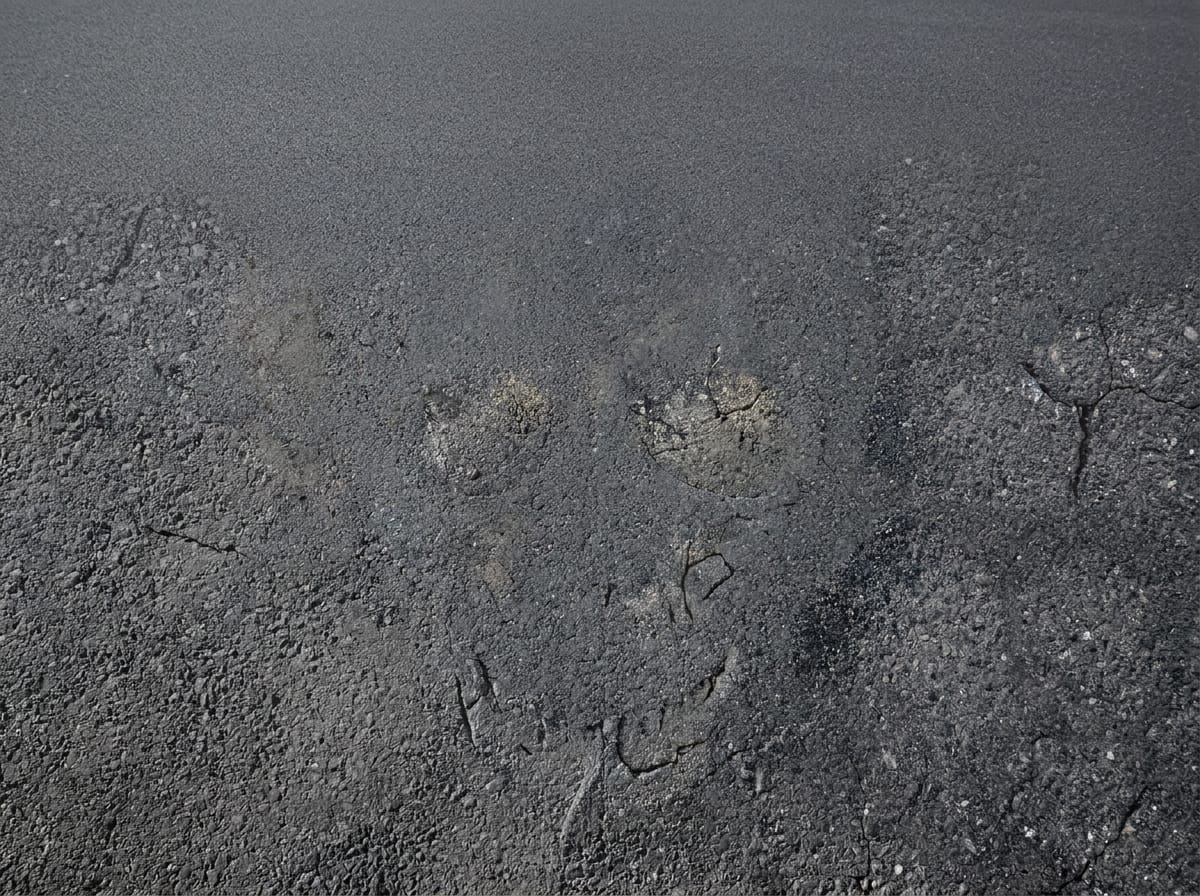
Step 3: Animate the reveal between your two frames
Now you have two images: a clean plate and a fully revealed skull. The animation model's job is to invent everything that happens between them.
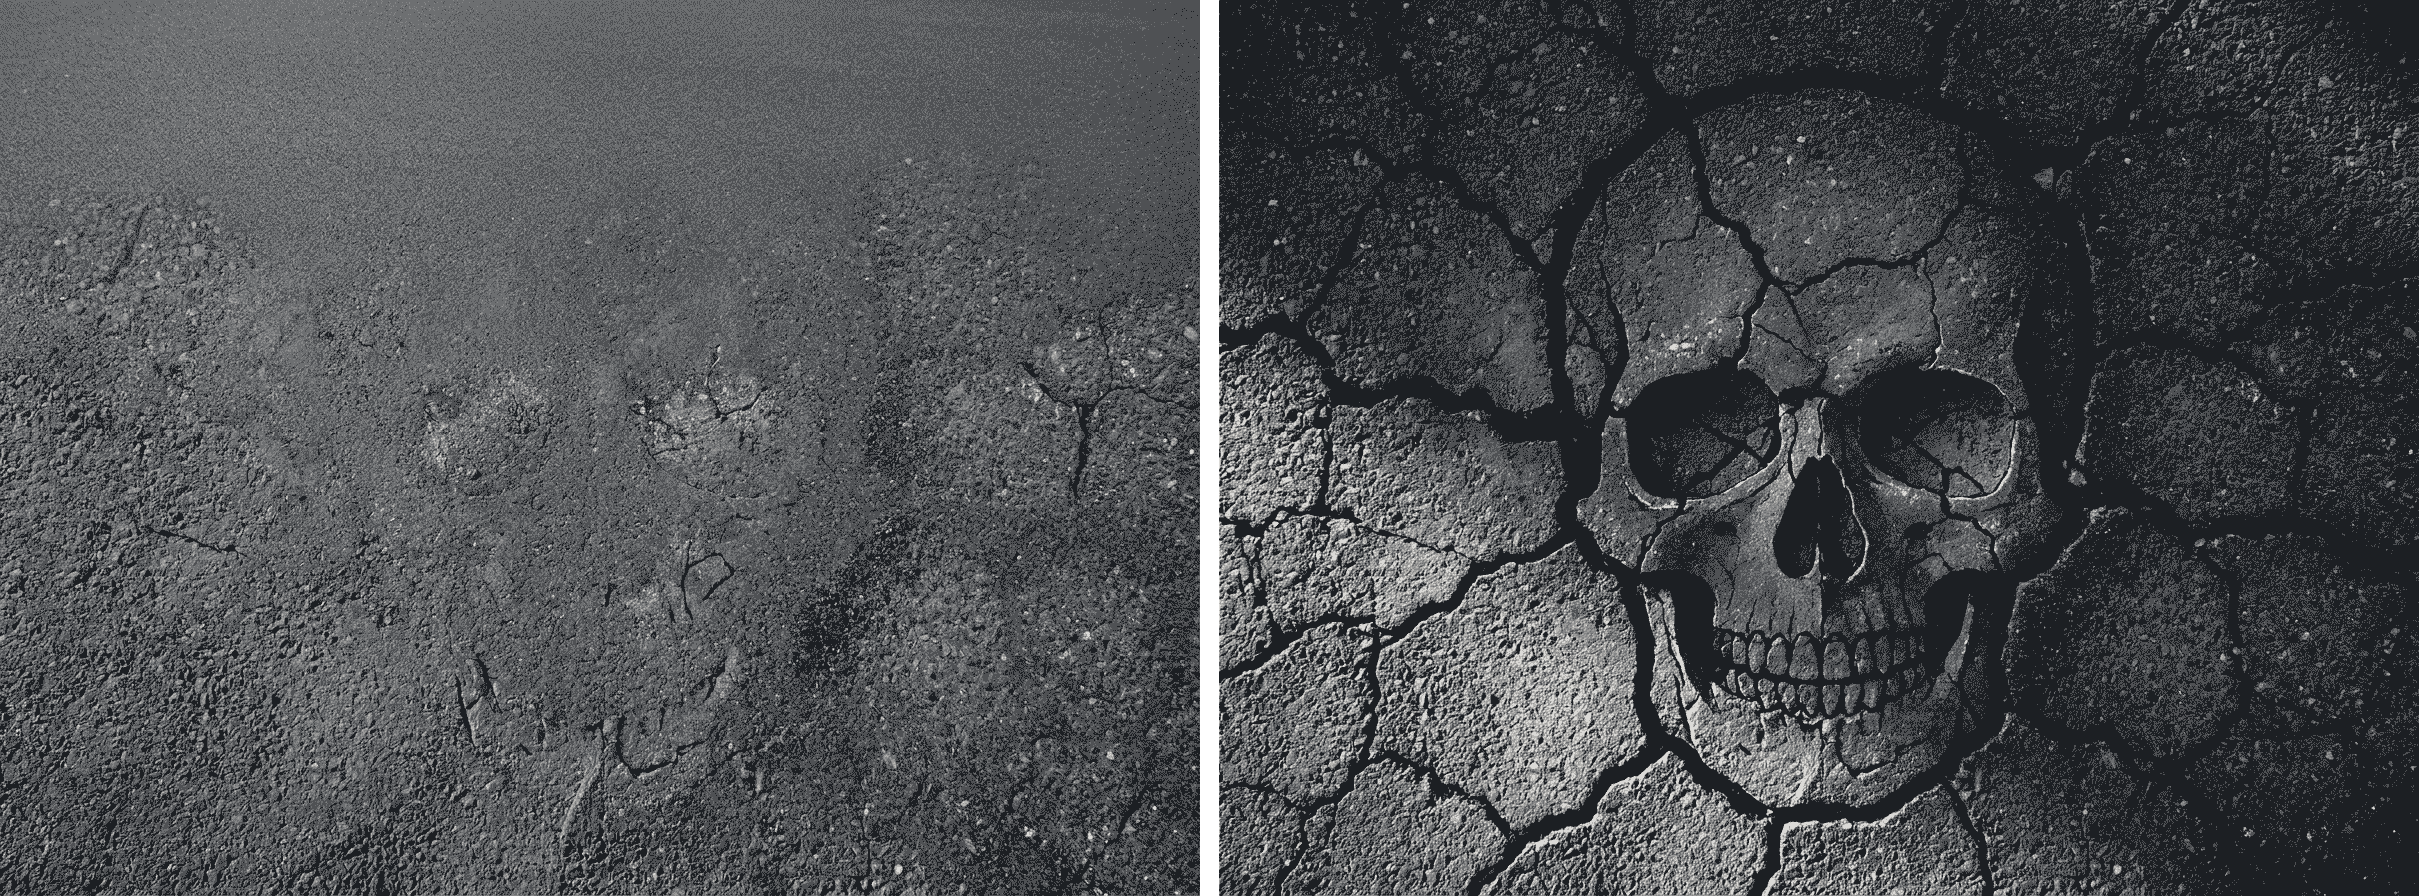
I used Google Gemini and Google Flow for this stage, testing both to compare motion quality and texture consistency. You feed the model your first frame, your last frame, and a prompt describing how the reveal physically happens, not just what appears, but how the surface breaks, where the pressure originates, how light hits the fracture lines as they spread.
Prompt I used:
[Extreme close-up, slow static push in. Dry asphalt surface with faint paw print impressions. A single crack forms at center and spreads outward, fracturing the surface apart. The fractures deepen and reshape, the cracks themselves forming the contours of a skull embedded in the ground. The skull does not rise above the surface. It is revealed by the breaking. Dramatic raking side light, deep shadows in eye sockets and cracks. Photorealistic, hyper-real stone and asphalt texture, 8K detail, no illustration. Sound design: low subterranean rumble building to a sharp crack burst, then silence. Duration: 8s. 16:9. 1080p.
Negative: floating skull, CGI sheen, illustrated look, composite appearance, warm color grading, motion blur, text, watermarks.]
Why this looks harder than it is
The finished clip runs eight seconds. It looks effortless. It is not. The actual effort lives in the preparation, getting the end frame exactly right before you ever touch animation, building a clean plate that matches it perfectly, and writing a motion prompt precise enough that the model understands cause and effect, not just imagery.
Test different image models at every stage. What looks right in one model can look flat or synthetic in another. The model is not the craft. The sequence and the prompting underneath it is.
Tools used
Google Flow (Veo), Google Gemini, Claude, Adobe Premiere Pro

Written with AI in the room, on a post about making with AI. The craft shown live, not hidden.
This is the first in an ongoing HOW TO AI series breaking down exactly how these effects get built, prompt by prompt, decision by decision.
Subscribe to get the next one straight to your inbox.


